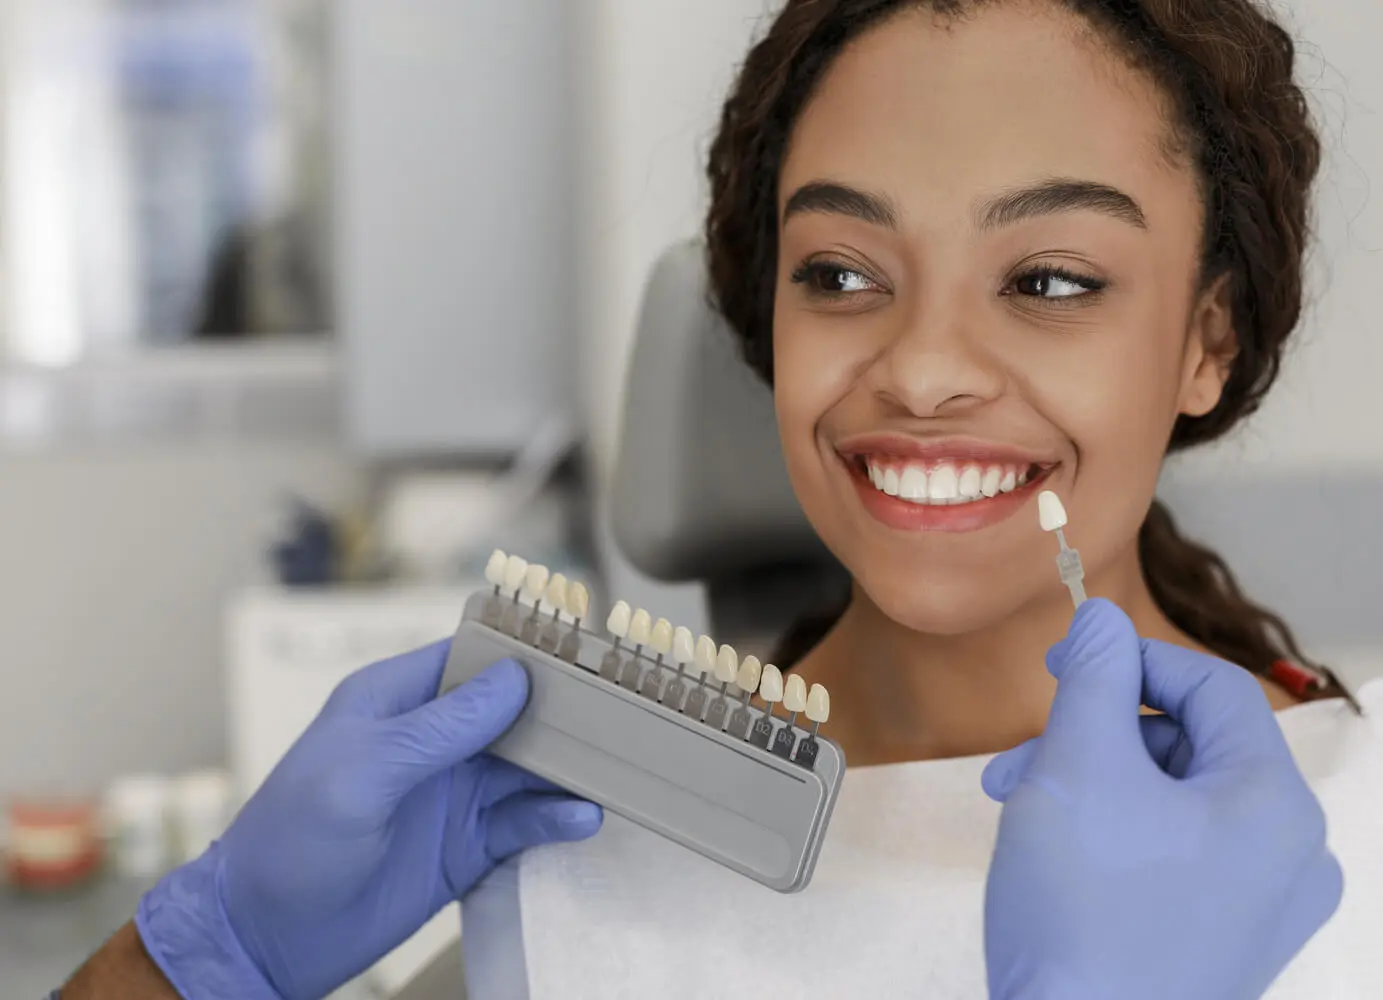
A confident smile can make a big difference in how you feel and how others see you. That’s why more people are turning to cosmetic dentistry to improve the look of their teeth. From whitening to full smile makeovers, Brooklyn offers a wide range of treatments that can enhance your appearance without major downtime.
Check out these top 5 cosmetic dentistry treatments available in Brooklyn and what makes each one worth considering.
1. Teeth Whitening – A Brighter Smile in Just One Visit

Stained or discolored teeth are a common concern. Coffee, wine, tobacco, and even some foods can dull your smile over time. Teeth whitening is one of the most requested cosmetic dentistry treatments for a reason—it’s fast, effective, and widely accessible across Brooklyn.
In-Office Whitening vs. Take-Home Kits
-
In-office treatments – done under professional supervision and use stronger whitening agents. Most patients see noticeable results in just one session.
-
Take-home kits – from your dentist can also be effective, though results take longer to appear. These are usually custom-fitted for comfort and even results.
Who Should Consider It
Teeth whitening is ideal for people with healthy teeth and gums who want to brighten their smile. It works best for yellow-toned stains and may not be as effective on gray or brown discoloration caused by internal issues.
What It Costs and How Long It Lasts
Professional teeth whitening typically ranges from $300 to $800 in Brooklyn. With good oral hygiene and fewer staining habits, results can last from several months to a year. Touch-up treatments are available if the color fades over time.
Teeth whitening is a simple yet impactful way to experience cosmetic dentistry without committing to more complex procedures.
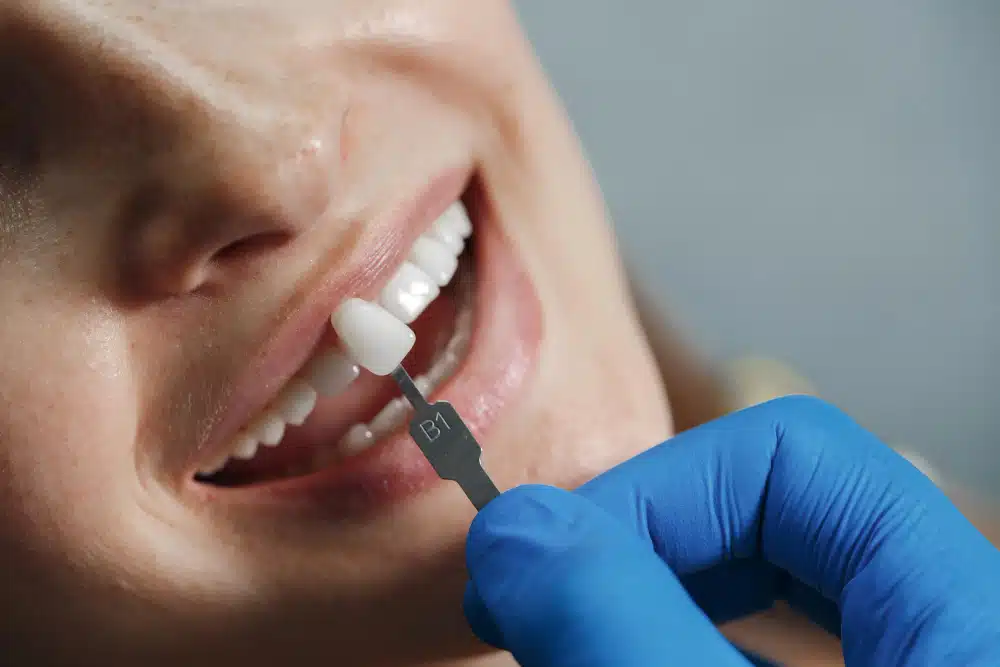
2. Dental Veneers – Instantly Upgrade Your Smile
Dental veneers are a go-to option for people who want a dramatic improvement in how their teeth look. These thin, custom-made shells are placed over the front of your teeth to correct a range of cosmetic issues. In Brooklyn, veneers are commonly offered at cosmetic dentistry practices for patients looking for long-term results.
What Veneers Can Fix
Veneers are effective for fixing:
-
Chipped or cracked teeth
-
Gaps between teeth
-
Uneven or misshaped teeth
-
Severe discoloration that doesn’t respond to whitening
They’re often used for people who want to correct several issues at once without going through multiple procedures.
Types of Veneers Available
-
Porcelain veneers are strong, stain-resistant, and mimic the look of natural enamel.
-
Composite veneers are more affordable and can often be applied in a single visit, though they’re less durable than porcelain.
Your dentist will help you choose the right material based on your goals and budget.
Procedure and Care
The process typically takes two visits:
-
The first visit includes tooth preparation and impressions.
-
The second visit is when the veneers are bonded to your teeth.
Minimal maintenance is required beyond regular brushing, flossing, and dental checkups. Avoid biting into hard objects to prevent damage.
Cost and Longevity
In Brooklyn, dental veneers can range from $900 to $2,500 per tooth, depending on the material and provider. Porcelain veneers can last 10 to 15 years or longer with proper care.
For those looking for a long-term way to improve their smile, veneers are one of the most transformative options available in cosmetic dentistry.
3. Invisalign – Straighten Teeth Discreetly
Invisalign has become a popular choice for adults and teens who want straighter teeth without wearing traditional metal braces. It uses a series of clear, removable aligners that gradually shift your teeth into place. Many cosmetic dentistry clinics in Brooklyn offer Invisalign as a modern, low-profile solution for crooked or crowded teeth.
How It Works
-
You’ll receive a set of custom-made aligners based on 3D scans of your teeth.
-
Each aligner is worn for about two weeks before moving on to the next one in the series.
-
You’ll need to wear them for 20 to 22 hours a day for best results.
Aligners are removed only for eating, brushing, and flossing, which makes them convenient for daily life.
Benefits of Invisalign
-
Almost invisible when worn
-
No dietary restrictions
-
Easier to clean your teeth compared to braces
-
Fewer office visits since no wire adjustments are needed
These benefits make Invisalign a top choice for people who want a more flexible and less noticeable treatment.
Who It’s For
Invisalign works best for mild to moderate alignment issues, including:
-
Overcrowding
-
Small gaps
-
Minor bite problems
Severe misalignment may still require traditional orthodontic options.
Cost and Treatment Time
The average cost of Invisalign in Brooklyn ranges from $3,500 to $7,000. Treatment can take anywhere from 6 months to 2 years, depending on the complexity of your case.
Invisalign is one of the most effective ways to achieve a straighter smile through cosmetic dentistry without the look and feel of metal braces.
4. Dental Bonding – Quick Fixes for Minor Imperfections
Dental bonding is a simple and cost-effective treatment that can fix small cosmetic issues in just one visit. It involves applying a tooth-colored resin to improve the shape, color, or size of a tooth. Many cosmetic dentistry offices in Brooklyn offer bonding for patients looking for fast results without major procedures.
What Dental Bonding Can Correct
Bonding is great for correcting:
-
Small chips or cracks
-
Slight gaps between teeth
-
Teeth that appear too short
-
Minor discoloration that whitening can’t fix
It’s often used on front teeth where small flaws are most noticeable.
How the Procedure Works
-
The dentist prepares the surface of the tooth and applies the resin.
-
The material is shaped and smoothed to match surrounding teeth.
-
A special light is used to harden the resin.
-
Final adjustments are made for shape and polish.
The whole process usually takes under an hour per tooth and doesn’t require anesthesia.
Advantages and Limitations
Pros:
-
Quick and painless
-
Lower cost than veneers or crowns
-
Minimal tooth removal required
Cons:
-
Not as durable as other options
-
Resin can stain over time
-
May need touch-ups after a few years
Cost and Maintenance
In Brooklyn, dental bonding typically costs between $150 and $500 per tooth. Good oral hygiene and avoiding habits like nail biting or chewing on pens can help maintain the results.
For small cosmetic issues, bonding is a practical introduction to cosmetic dentistry with minimal time and financial commitment.
5. Dental Implants – A Permanent Solution for Missing Teeth

Missing teeth can impact more than just your smile. They can affect how you chew, speak, and feel about your appearance. Dental implants are a permanent way to replace missing teeth and restore function. Many Brooklyn practices offering cosmetic dentistry include implants as part of their services for full smile reconstruction.
What Makes Implants Different
Unlike dentures or bridges, dental implants are surgically placed into the jawbone. They act as artificial roots that support a crown, bridge, or denture. This setup makes them feel and function like natural teeth.
Who Can Get Implants
Most people with good general and oral health are eligible. Dentists typically look for:
-
Sufficient bone to support the implant
-
Healthy gums
-
No active gum disease or untreated decay
If there isn’t enough bone, bone grafting may be recommended before placement.
Step-by-Step Breakdown
-
Consultation and imaging to assess your oral health
-
Implant placement into the jawbone
-
Healing period (usually a few months) to allow the implant to fuse
-
Abutment and crown placement to complete the restoration
The entire process can take several months but offers long-term results.
Cost and Longevity
Dental implants in Brooklyn generally range from $3,000 to $5,000 per tooth, depending on the complexity. With proper care, implants can last 20 years or more, making them one of the most durable options in cosmetic dentistry.
Dental implants are a strong choice for restoring both function and appearance, offering a long-term solution that looks and feels natural.
Why Cosmetic Dentistry Is on the Rise in Brooklyn
Cosmetic dentistry is more accessible and in demand than ever across Brooklyn. More people are choosing to invest in their smiles, not just for looks but for the confidence and comfort that come with it.
What’s Driving the Demand
-
Increased awareness: Social media, online reviews, and before-and-after galleries make it easier for patients to explore their options.
-
Advanced technology: Digital scanners, 3D imaging, and faster treatment methods are improving results and reducing downtime.
-
Flexible financing: Many Brooklyn dental practices now offer payment plans, making cosmetic services easier to afford.
The Local Factor
Brooklyn is home to a wide range of dental providers who focus on cosmetic dentistry. Patients have access to experienced dentists offering high-quality treatments without traveling far from home.
Cosmetic dentistry is no longer just for celebrities or special occasions—it’s becoming a regular part of how people maintain their appearance and self-esteem in a city that values both.
Choosing the Right Cosmetic Dentist in Brooklyn
Finding the right provider is just as important as choosing the treatment itself. A skilled cosmetic dentist can help you achieve natural, lasting results while making the process smooth and stress-free. Brooklyn offers plenty of options, but knowing what to look for can help you make the right decision.
What to Look For
-
Experience with cosmetic procedures: Not all dentists specialize in aesthetic work. Look for someone with a strong background in cosmetic dentistry.
-
Before-and-after photos: These help you get a clear idea of the dentist’s work and what to expect.
-
Patient reviews: Online reviews and testimonials can tell you a lot about patient satisfaction and office atmosphere.
-
Consultation style: A good dentist will take the time to understand your goals and answer your questions without pressure.
Questions to Ask
-
How many similar cases have you handled?
-
What materials and techniques do you use for this procedure?
-
What kind of maintenance will I need after treatment?
-
Are there alternative options I should consider?
Cosmetic dentistry isn’t one-size-fits-all. Choosing a provider who listens to your concerns and explains your options clearly can make all the difference in the final outcome.
Conclusion: Start Your Smile Transformation Today
Cosmetic dentistry offers more than just aesthetic changes—it can improve how you feel about yourself every time you smile. From quick treatments like teeth whitening and bonding to long-term solutions like veneers and implants, there’s something for every need and budget.
Brooklyn has become a hub for quality cosmetic dentistry, with skilled professionals and modern options that make it easier than ever to improve your smile. Whether you’re fixing a small flaw or planning a full smile makeover, the first step is finding a provider you trust.
A brighter, straighter, more confident smile is within reach—explore your options and take that first step toward the results you want.
Discover the Smile You’ve Been Thinking About
Cosmetic dentistry is a personal journey, and finding the right team makes all the difference. At ARK Esthetics, we don’t just treat teeth—we focus on the person behind the smile. From personalized consultations to advanced treatment options, everything we do is designed around your comfort, convenience, and goals.
Our board-certified orthodontists and skilled team provide a calm, one-on-one environment where your needs always come first. With minimal wait times, flexible scheduling, and support that fits your lifestyle, your experience will feel as smooth as the results look.
Book your complimentary consultation with ARK Esthetics today. Let’s talk about your smile and what’s possible—no pressure, just real guidance from a team you can trust.


 549 Myrtle Ave, Brooklyn, NY 11205, United States
 Info@arkesthetics.com